








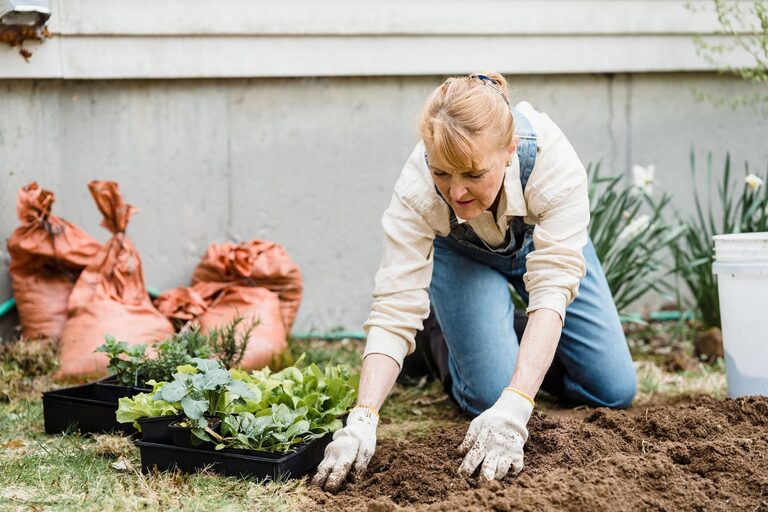
Gardening does not have to be an all-day task. Some of the most rewarding garden projects can be completed in small steps, with plenty of time to pause, plan, and enjoy the results. Whether you have a large yard, a small patio, or a sunny windowsill, you can choose projects that fit your schedule and energy level.
The key is to create a garden that works with your routine instead of demanding constant attention. Start with manageable goals, divide larger tasks into stages, and choose plants and materials that make maintenance easier. Here are several flexible projects to help you keep moving at your own pace.
Start With a Simple Garden Plan
Before buying plants or supplies, take a few minutes to look at your space. Notice where sunlight falls during the day, where water collects after rain, and which areas are easiest to reach.
A simple plan can include:
– A rough sketch of your garden or growing area
– The amount of sunlight each section receives
– A list of plants you would like to grow
– A short supply list
– A schedule divided into small tasks
You do not need a detailed landscape design. A basic plan helps prevent rushed decisions and makes it easier to work on one section at a time. Begin with a single bed, container, or corner rather than trying to change the entire garden at once.
Create a Container Garden
Container gardening is one of the most flexible ways to grow plants. Containers can be arranged on a patio, balcony, porch, or windowsill. They also make it easy to change your layout as the seasons or your interests change.
Choose containers with drainage holes and fill them with potting mix suited to the plants you want to grow. Consider starting with easy options such as:
– Herbs like basil, parsley, mint, or thyme
– Leafy greens
– Marigolds and other colorful annual flowers
– Compact tomatoes or peppers
– Succulents for bright, dry areas
You can prepare containers one at a time. First, clean and position the pots. Later, add soil and plants. On another day, create simple labels or arrange the containers into a pleasing group.
Use containers in different sizes and heights to add visual interest. A small collection of pots can become a complete garden feature without requiring a large installation.
Build a Small Raised Bed
A raised bed can give your garden a clear shape and make planting easier to organize. It does not have to be large. A bed measuring a few feet across can provide room for herbs, flowers, or vegetables while keeping the project manageable.
You can build a raised bed in stages:
Stage One: Choose the Location
Pick a level area with suitable sunlight and convenient access to water. Avoid placing the bed where it will block walkways or make lawn care difficult.
Stage Two: Prepare the Frame
Use untreated wood, stone, bricks, or a ready-made garden bed kit. Assemble the frame according to the material you choose, checking that the corners are secure.
Stage Three: Add Soil
Fill the bed with quality garden soil or a blend recommended for raised beds. Add soil gradually instead of trying to complete the entire job in one session.
Stage Four: Plant by Section
Divide the bed into small squares or rows. Plant one section at a time, leaving enough space for each plant to grow. This approach keeps the layout organized and makes future maintenance easier.
Design a Pollinator-Friendly Corner
A pollinator-friendly garden can be created in a small area and developed over time. Choose a sunny corner, a strip along a fence, or several large containers. Add flowers that provide color across different parts of the growing season.
Look for plants that are well suited to your local climate. A garden center or local extension resource can help you choose dependable options. Include a mix of flower shapes, colors, and heights to create variety.
You can build this project gradually:
– Mark the planting area
– Remove weeds and clear loose debris
– Add compost if needed
– Plant a few flowers
– Add more plants during the next planting opportunity
– Place a shallow water source nearby, refreshed regularly
Leave some open space between plants as they grow. The garden may look simple at first, but it will become fuller with time.
Make a Compact Herb Garden
Herbs are useful, attractive, and often easy to grow in small spaces. A compact herb garden can be placed near a kitchen door, on a sunny step, or in a row of containers.
Start with a few herbs you use often. Group plants with similar water and sunlight needs together. For example, many Mediterranean herbs prefer bright light and soil that drains well, while other herbs appreciate more consistent moisture.
Add simple garden markers using wooden sticks, stones, or weather-resistant labels. This small detail makes the garden easier to manage and gives it a finished appearance.
Harvest a little at a time rather than waiting for a large crop. Regular harvesting can help many herbs stay compact and productive.
Set Up a Garden Path
A path can make a garden easier to explore and gives the space a clear structure. It can also turn ordinary maintenance into a pleasant walk through the garden.
For a simple path, use materials such as:
– Stepping stones
– Wood chips
– Gravel
– Flat bricks
– Pavers
Begin by marking the route with string or a garden hose. Walk along it to make sure the path feels natural and connects the areas you use most. Complete one short section at a time.
If you use loose materials such as gravel or wood chips, add a border to help keep them in place. A path does not need to cross the entire garden. Even a short walkway between a seating area and a planting bed can make the space feel more intentional.
Add a Small Garden Seating Area
A seating area gives you a reason to pause and enjoy the work you have completed. It can be as simple as a bench, a sturdy chair, or a small table placed near flowers or herbs.
Choose a location with a pleasant view and enough room to move around it. Add a container of seasonal flowers, a lantern, or a small side table for gardening tools. Keep the design simple so it remains easy to maintain.
This project can be completed in short steps: clear the area, place the furniture, add one decorative item, and adjust the arrangement over time.
Use a Garden Journal
A garden journal helps you track progress without relying on memory. You can record planting dates, varieties, weather observations, and ideas for next season.
Keep the journal simple. Each entry might include:
– What you planted
– Where you planted it
– How the plant performed
– Tasks to revisit
– Ideas for future projects
You can use a notebook, calendar, or digital document. Add photographs if you enjoy recording visual changes. Reviewing old notes can help you make better choices and appreciate how much the garden has developed.
Choose Progress Over Perfection
A garden is always changing, so there is no need to complete everything at once. A container filled with herbs, a newly planted corner, or a short garden path can be a meaningful step forward.
Break larger projects into clear tasks, keep supplies organized, and leave room for adjustments. Some plans will change as plants grow, weather shifts, or your interests develop. That flexibility is part of the pleasure of gardening.
By choosing projects that can be completed in stages, you can create a garden that supports a steady, enjoyable routine. Move at your own pace, notice the small improvements, and let your outdoor space grow along with you.